• Skip to main content

Getting Things Sewn

designing a wardrobe, a workspace and more

  • Home
  • About Me
  • Contact Me
  • The Big Picture
  • Process
  • Field trips
  • Sewing
    • Sewing Projects
    • Sewing techniques
    • Sewing supplies
    • Sewing space
  • Design
    • Fashion
    • Wardrobe

Installing the Jacket Sleeves and Finishing the Lining–Old School

May 8, 2015

Readers,

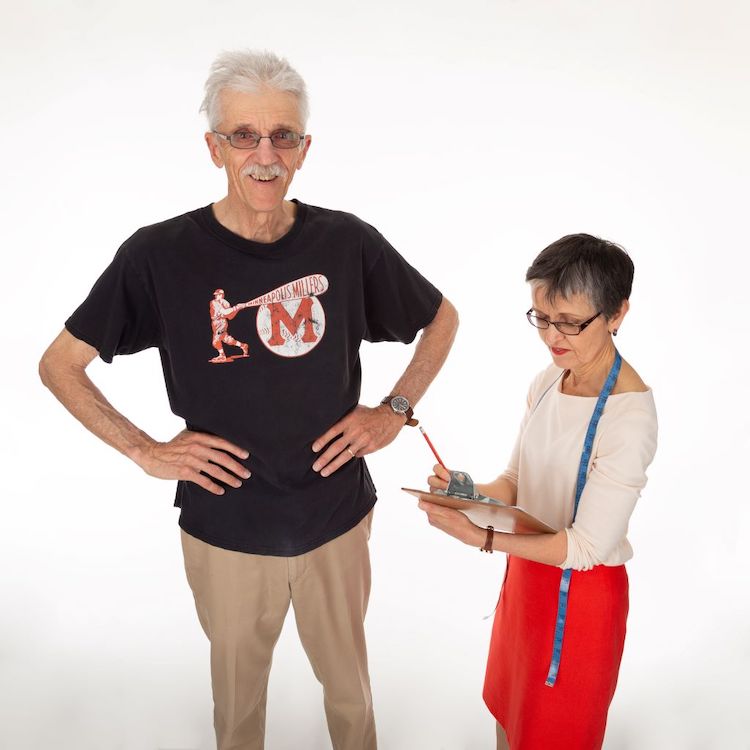
Guess what? I finished my 1941 McCall “Misses’ Mannish Jacket,” except for buttonholes, yesterday!  I’ve handed my creation over to my capable photographer, Cynthia DeGrand, to shoot it in her studio this afternoon.

The linings have been basted to the sleeves to avoid getting twisted later. The tops of the linings remain loose.

This past week found me following Kenneth King’s demos on his DVD set Smart Tailoring to set in the sleeves by hand and machine and complete sewing in the lining by hand according to “old school” methods.

Kenneth likes to distribute the ease over a long distance--the points I've marked with pins, where the sleeve flattens on itself.
Kenneth likes to distribute the ease over a long distance–the points I’ve marked with pins, where the sleeve flattens on itself.
Make two staggered rows of running stitches by hand inside the seam allowance by about 1/8 inch to ease the seam cap.
The rows of hand stitching are staggered to gather the cap better.

As throughout this “old school” process, I was surprised how much I liked doing the handwork. Hand-basting the sleeve into the armhole gave me more control over distributing the ease, and I had no pins in my path when I machine-sewed the sleeve in place.

The right sleeve cap has been gathered and steam-pressed and -shrunk to shape.
Oh--I forgot to spritz the left sleeve before I tried steaming and pressing the cap. Do not skip the water-spritzing step!
Oh–I forgot to spritz the left sleeve before I tried steaming and pressing the cap. Do not skip the water-spritzing step!

Similarly, I enjoyed more control stitching the lining in place by hand than by machine.

I have sewn this jacket pattern four times before and drafted a shoulder pad to fit, but Kenneth shows how to trim a commercial shoulder pad to fit.
I have sewn this jacket pattern four times before and drafted a shoulder pad for it, but Kenneth shows how to trim a commercial shoulder pad to fit.
With fleece from my stash and the shoulder pad pattern I made previously I made shoulder pads in a jiffy.

When I try Kenneth’s “new school” methods from Smart Tailoring for a second jacket project I’m sure there will be more machine work, and I may be equally satisfied with the result. The big change may be that I will no longer see handwork as fussy or laborious. It certainly doesn’t have to be.

A sleeve head fills out the sleeve cap; Kenneth recommends using a a bias-cut wool flannel.
The 3" x 10" wool strip is folded and pressed, then zizzag-stitched, folded and pressed again to create tiers.
The 3″ x 10″ wool strip is folded and pressed, then zizzag-stitched, folded and pressed again to create tiers.
Press and steam-shrink the sleeve head to help mold it into its final shape.
The shoulder pad aligns with the sleeve seam allowance.
The fold of the sleeve head is placed about an eighth of an inch inside the seam allowance and then is opened up.
The sleeve head is unfolded and attached to the sleeve cap with a running stitch.

Although I finished the jacket as much as I could, I don’t have buttons for it yet so I can’t make the buttonholes. And without buttons and buttonholes it isn’t done and is still a project, not a garment.

Once stitched in place, the sleeve head will fold back on itself.
The shoulder pads are in both sides, but the sleeve head is only on the right. The other sleeve cap looks a little collapsed.

I realized a few weeks ago that I might find wonderful vintage or vintage-looking buttons to go with this vintage pattern and fabric. So I’m waiting till I’m in London a few weeks from now to look in earnest.

In a little while I will join Cynthia and my jacket in the photo studio. See you back here in a couple of days, I hope!IMG_6681 (345x460)

Related Posts

What Works, What Doesn't: T-Shirt Edition
Readers, Just a few weeks ago I had a sudden realization....
Read more
Shopping New York's Garment District: What Shall...
Readers, Thursday Jack and I are flying to New York for...
Read more
Guest Blogger: Our Advice Columnist, Miss GTS
[caption id="attachment_6548" align="aligncenter" width="335"] Miss GTS has been watching me--and...
Read more

in Sewing Projects, Sewing techniques # jackets, sewing videos, tailoring, teachers

About pauladegrand

Reader Interactions

Comments

  1. Steve P says

    May 8, 2015 at 11:43 am

    Looks great! Thanks for sharing your journey. You’ve inspired me to do more sewing…. I bought Kenneth’s DVD. I just need to select a project and get on with it! Cheers!

    • Paula DeGrand says

      May 8, 2015 at 1:23 pm

      Steve, how about a sportcoat to go with your beautiful shirts? Yes–do it!

  2. Tania says

    May 9, 2015 at 6:10 pm

    It looks very professional!

2026 © Getting Things Sewn, Paula DeGrand
made by soulmuse