Readers,
About a month and a half ago I had another of those moments when I looked at the sewing room and did not like what I saw. Clutter. Disorder. Half-finished projects. How can a person get work done in here? Who’s responsible for this mess?
(Oh, right–I am.)
Add to this exasperation a touch of cabin fever from the governor’s stay-at-home order and I was ripe for–you guessed it–moving furniture.
I had gotten accustomed to a certain layout and then realized it wasn’t working for me and that I could make it a lot better. The experimenting began, and in a surprisingly short time I had a much more functional room.
Here are three recent changes that have improved accessibility and order for only moderate outlays of time and money:
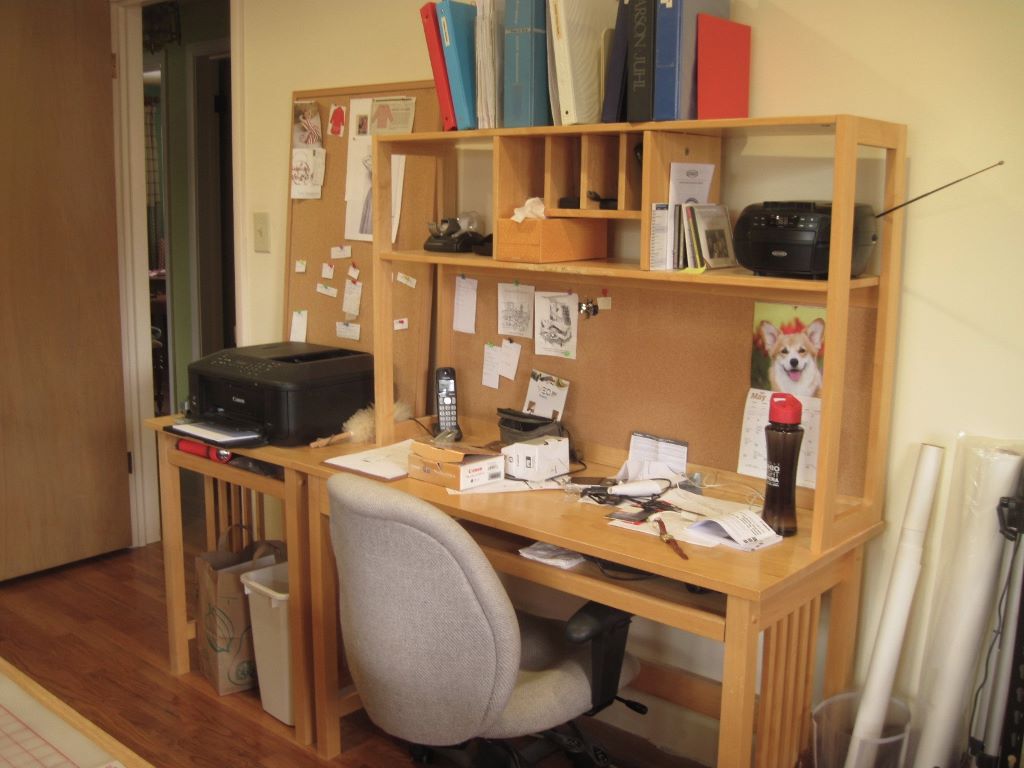
Before: Printer stand, desk, shelf unit, chair.
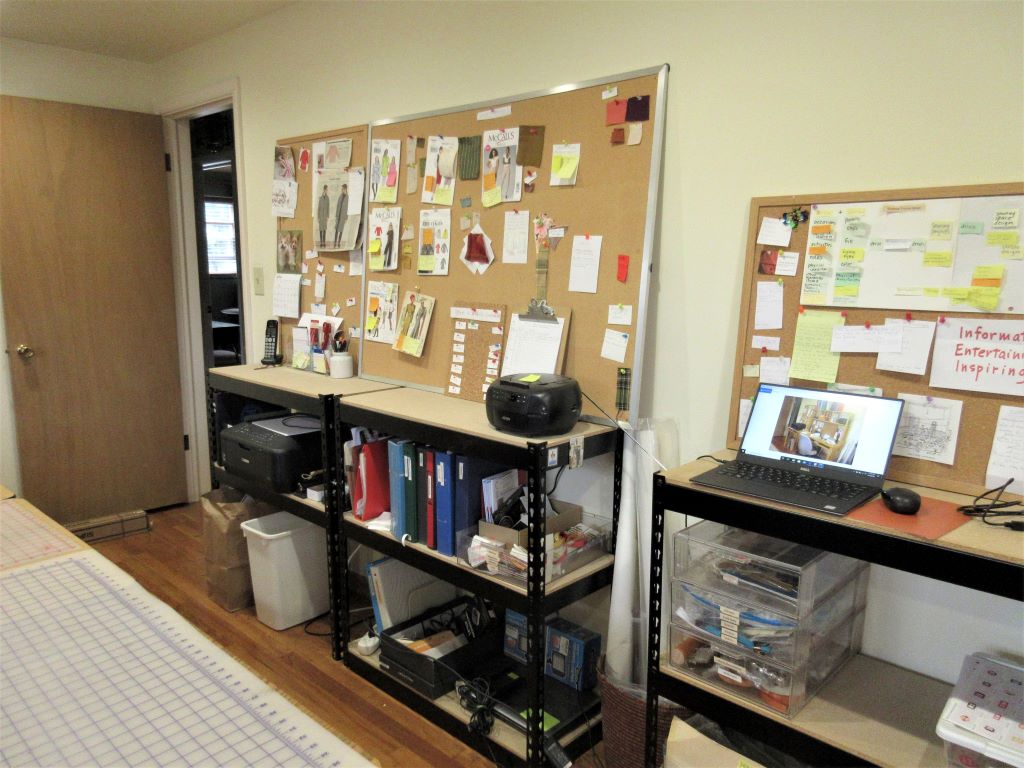
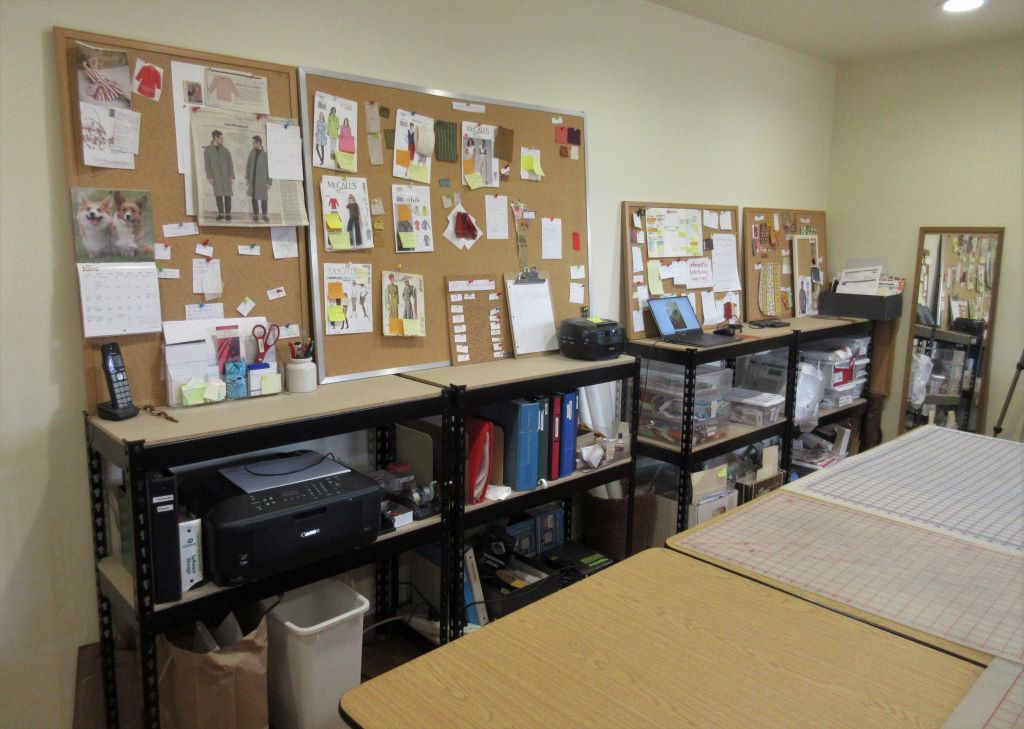
After: A set of steel shelving units to join the first set for improved efficiency and adaptability.
Cost: Nothing.
Lessons:
- Use generic, adaptable equipment whenever possible.
- Specialized storage may be unused storage.
- One chair in the sewing room is enough.
- Consistency in materials can help create a sense of order.
One day I realized this student desk set I’d bought at a garage sale a few years back had stopped earning its keep. It had become a dumping ground for things that had no assigned home and was no longer where I liked to write. The divided storage spaces of the shelf unit and the stand for the printer were unadaptable. Plus, I had two office chairs when all I needed was one.
It dawned on me that all I had to do was reimagine jobs for furnishings we already had. Up from the basement came two steel and particle board shelving units and down to the basement went the desk, shelf unit, and printer stand to hold supplies for gift wrap, packing, and shipping. The chair also found a new work assignment in the basement.
We bought several sets of the steel shelving, the 72-inch high, 34-inch wide Edsal Muscle Rack, a couple of years ago at our local Ace Hardware when they were on sale. The shelves can be used in one vertical stack or in two lower stacks to provide handy work surfaces. That is such a great feature of these shelves.
Before: Pieces of pressing equipment piled so that whatever I needed was usually on the bottom. (Funny how that happens.)
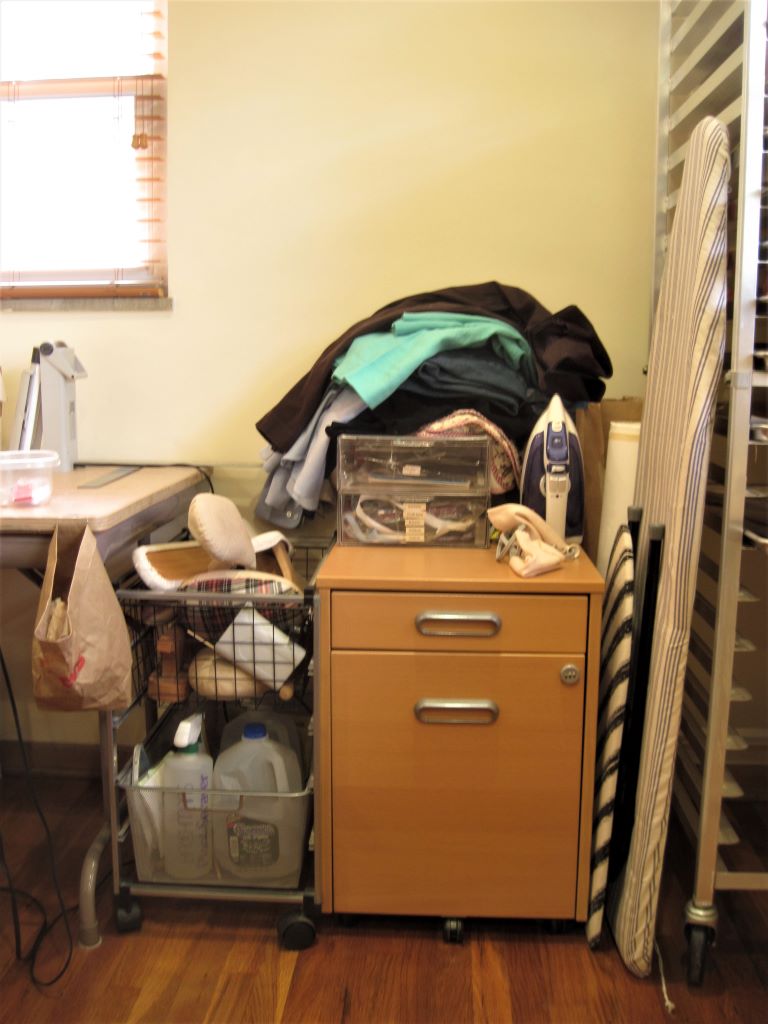
After: Everything at hand on a rolling shelf unit next to the ironing board.
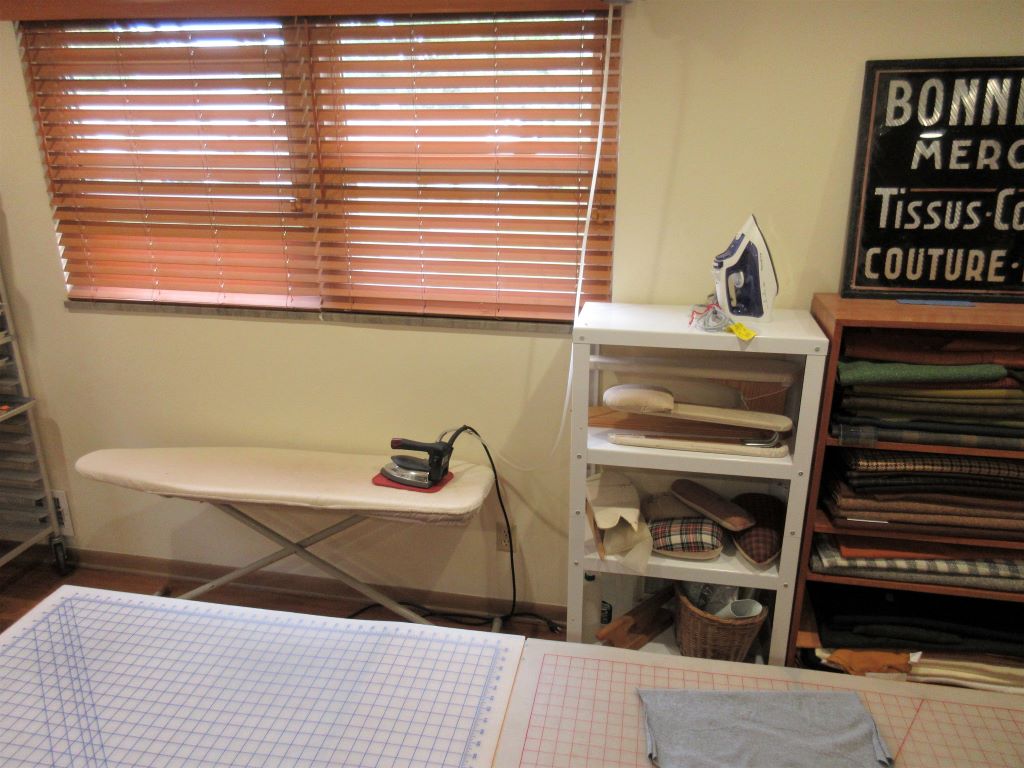
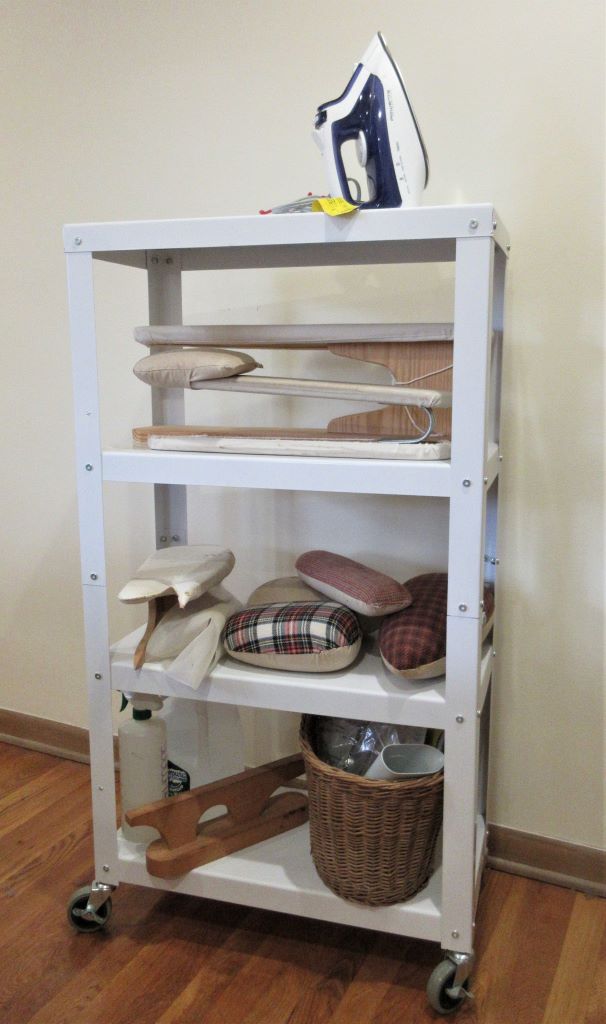
Cost: About $25 for the plastic shelving I bought for the cleaning closet to free up this metal shelving unit for the sewing room.
Lessons:
- Whenever possible store items at the point of use.
- Store things so they’re easy to take out and put back.
Again, my storage solution was close at hand. Two or three years ago I’d bought this nice-looking set of rolling shelves on clearance to store cleaning supplies in a closet. All I had to do was measure my pressing equipment, the available floor space, and these shelves, and I realized I could make this work. I easily found inexpensive plastic stacking shelves to put back into the closet to hold the cleaning supplies
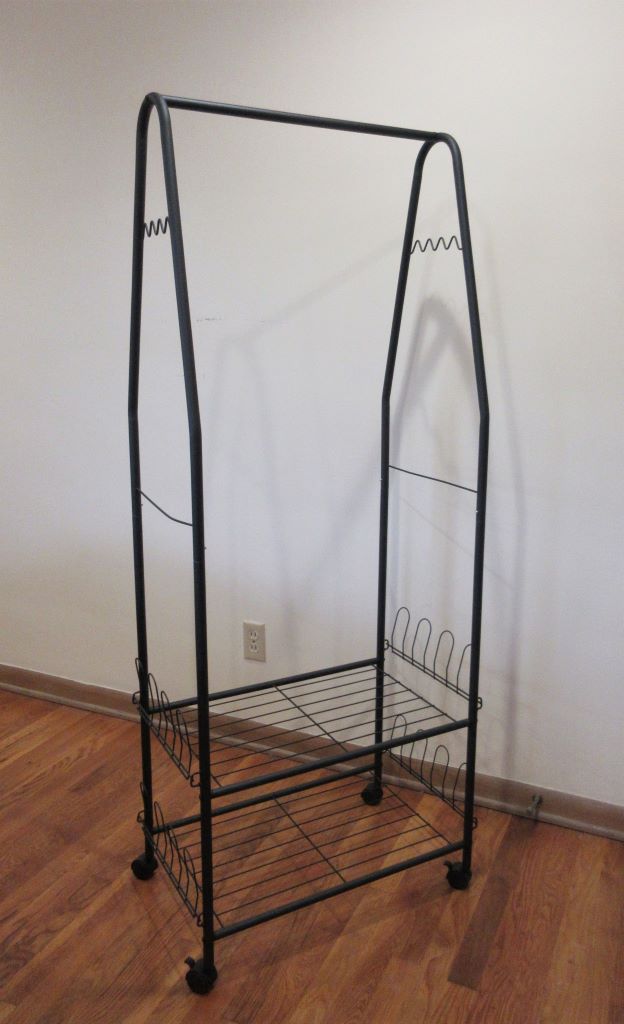
Before: Items waiting to be ironed or mended in a disgraceful pile on an Ikea file cart. (See photo above.)
After: Ironing and mending are now arranged on a rolling clothes rack. The file cart is stowed under a work table. The rack will also be great for planning outfits and capsules.
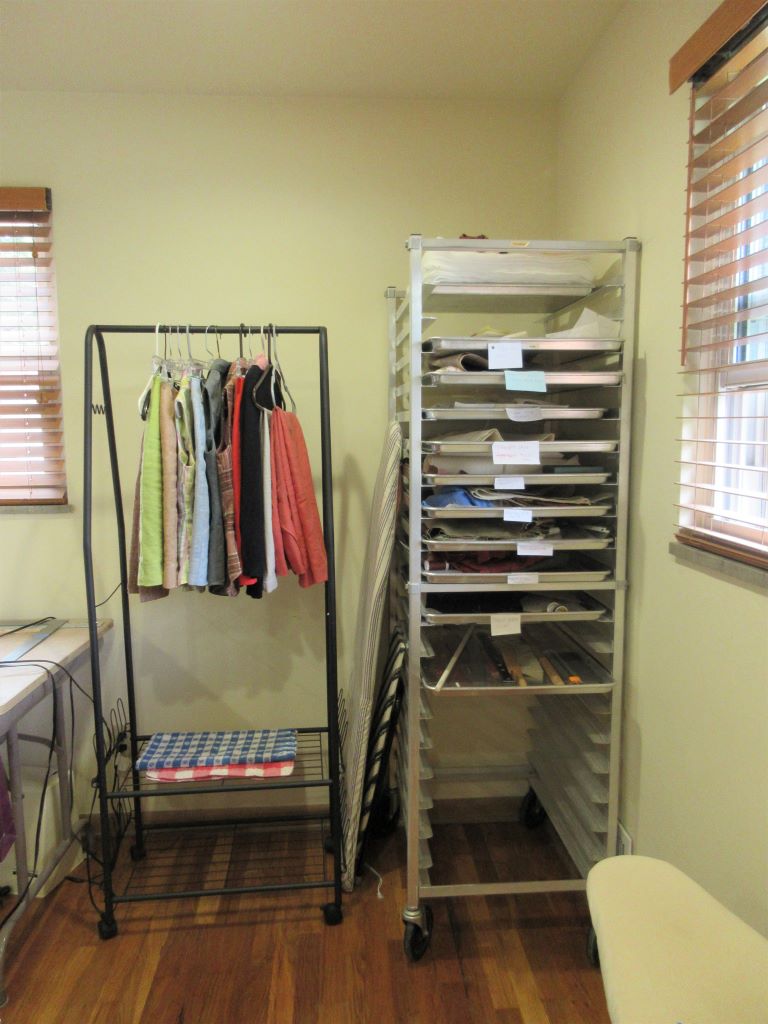
Cost: About $50.
Lessons:
- Sometimes I can solve a pesky problem and get a bonus.
What had stopped me from shopping for a clothes rack before was not having the floor space for it. Then I saw that I could handily stow the file cart under my work tables for the time being. On the Bed, Bath, and Beyond website I found the Whitmor Multi-Functional Garment Rack. Not only did it have a garment rod, it had shelves, holders for eight pairs of shoes, and even “integrated accessory hooks for belts, ties, and scarves.” Great! It was a perfect fit for the space and exceeded my expectations for functionality.
Whether I’m planning outfits and capsules for home or for trips I can use this rack to organize clothes and accessories and plan coordinates to sew or buy.
So, in surprisingly quick and inexpensive ways I’ve built a new level of orderliness into the layout of my sewing room. I got used to these new, intuitive little systems so quickly that I almost forgot to mention them here.
I know, there is more weeding and organizing to do, but once in a while I make progress almost in spite of myself.
Related Posts