Readers,
I made another sample for this jacket, Vogue 4036, from 1959: the pocket and flap. I’m so used to misunderstanding instructions, making goofs, and starting over that I was surprised–shocked!–that the pocket and flap turned out so nicely on the first try.
Here are the printed instructions:


And here’s what I did:


On to the flap:


Related Posts

Readers,
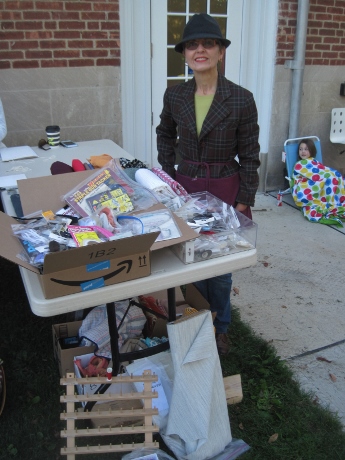
Two days ago our class was taken on a whirlwind...
Readers,
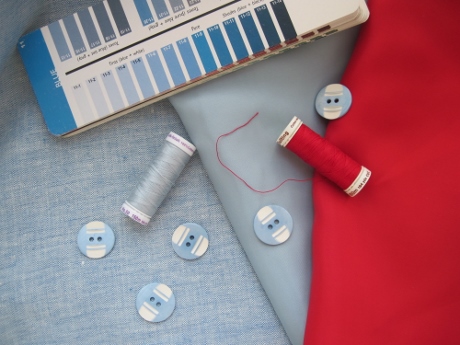
Some supplies for the jacket.
I've set...
Beautiful work! But weren’t you tempted to make the pocket as big as the flap? What are those dinky pockets for, anything? A lace handkerchief?
A small lace handkerchief, at that. I do love pockets, and this size can barely handle one lipstick. Okay, I’ll see how much bigger I can go. I was just being lazy when I made the sample.
I really like this pocket technique. I think that the positioning of the flap is to hide any bit of the pocket from showing. Usually a flap is inserted into the bound opening. This seems like a very couture method, especially with the hand sewn flap. You may be able to widen the opening a half inch but I would stop there.
You’ve got me wondering, Marguerite, what qualifies a method as “couture.” I just realized that my attitude was that if I can do it, it can’t be couture, because couture is beyond my abilities. But–perhaps not! That’s a cheering thought! A new frontier is opening up!